
Best Ever New Zealand Pavlova
The Best Ever New Zealand Pavlova: A Definitive Guide to Achieving Meringue Perfection
The quest for the "best ever" New Zealand Pavlova is a culinary journey steeped in national pride and a touch of friendly rivalry. This iconic dessert, a crisp, airy meringue shell cradling a cloud-like interior, crowned with whipped cream and vibrant fruit, is more than just a sweet treat; it’s a symbol of Kiwi hospitality and summer indulgence. Achieving pavlova perfection, however, can be a delicate dance between science and intuition, with countless variables influencing the final outcome. This comprehensive guide will dissect every crucial element, from the ingredients and their preparation to baking techniques and troubleshooting, ensuring your pavlova stands head and shoulders above the rest, a true testament to its New Zealand heritage.
Understanding the Core Components: The Foundation of Excellence
At its heart, a pavlova is deceptively simple, requiring only a few key ingredients. However, the quality and preparation of these components are paramount. The foundation of any great pavlova is egg whites. Use fresh, room-temperature egg whites; they whip to a greater volume and stability than cold ones. Separate them meticulously, ensuring not a single drop of yolk contaminates the whites, as fat inhibits their ability to foam. Many home cooks find success with egg whites that have been left to sit out for an hour or two, reaching room temperature naturally. For pavlovas intended for special occasions or those seeking extra reassurance, consider pasteurized egg whites, readily available in cartons. The quantity of egg whites will dictate the size of your pavlova; a standard 30cm (12-inch) pavlova typically uses 4-6 large egg whites.
The sweetener is crucial. Caster sugar, also known as superfine sugar, is the undisputed champion for pavlova. Its smaller crystals dissolve more readily into the egg whites, creating a smoother, more stable meringue. Granulated sugar, with its larger crystals, can lead to a grainy texture and even a collapsed pavlova if not fully dissolved. The ratio of sugar to egg whites is critical. A common starting point is a 2:1 ratio by weight (e.g., 200g caster sugar for 100g egg whites), but this can be adjusted for sweetness preference. Some recipes opt for a slightly higher sugar content to enhance crispness.
A stabilizing agent is essential to prevent weeping and cracking. Cream of tartar, a mild acid, is the traditional choice. It helps to denature the egg white proteins, creating a more robust foam structure. A small amount, typically ¼ to ½ teaspoon per egg white, is sufficient. Alternatively, white vinegar or lemon juice can be used, although they may impart a subtle flavour. Cornflour (cornstarch) is another vital ingredient, added towards the end of the whipping process. It absorbs moisture, creating that signature marshmallowy, chewy interior and contributing to a crisp exterior. The amount of cornflour typically ranges from 1 to 2 tablespoons per 4-6 egg whites.
Finally, the flavouring. Vanilla extract is the classic addition, lending a subtle sweetness and aroma. Ensure you use a good quality pure vanilla extract, not imitation. Some purists advocate for no flavouring at all, allowing the pure meringue and fruit to shine.
The Art of Whipping: Transforming Whites into Clouds
The whipping process is where the magic truly happens, and it demands attention to detail. Begin by whisking the egg whites in a scrupulously clean, dry bowl. A metal or glass bowl is preferable to plastic, which can retain residual grease. Start on a low speed, gradually increasing to medium-high. The egg whites will gradually become foamy, then opaque, and finally reach soft peaks. At this stage, the peaks will curl over when the whisk is lifted.
Now, it’s time to introduce the sugar. Add it very gradually, a tablespoon at a time, while the mixer is running on medium-high speed. This slow incorporation allows the sugar crystals to dissolve completely. Impatience here is the enemy of pavlova perfection; rushing this step will result in a grainy meringue that is prone to weeping. Continue whipping until the meringue is glossy, stiff, and forms firm peaks that stand upright when the whisk is lifted. You should be able to rub a small amount of the meringue between your fingertips and feel no grit – this is the indicator of fully dissolved sugar.
Once stiff peaks are achieved, gently fold in the cornflour and vanilla extract. Overmixing at this stage can deflate the meringue, so a gentle, folding motion is crucial. The meringue should look smooth and airy, with no visible streaks of cornflour.
Shaping Your Masterpiece: Creating the Perfect Canvas
The shape of your pavlova is largely a matter of personal preference, but a few guidelines can help ensure even cooking and an attractive presentation. Typically, pavlovas are baked in a circle, about 20-30cm (8-12 inches) in diameter, with a slight indentation in the centre.
Lightly grease a baking sheet and line it with parchment paper. You can draw a circle on the parchment paper as a guide, or simply freehand it. Spoon the meringue onto the prepared baking sheet. Use a spatula to create a slight well in the centre and build up the sides. This indentation will hold the cream and fruit beautifully. Alternatively, you can spoon the meringue into a ring mould or create a freeform, rustic mound. The key is to create a relatively even thickness to ensure consistent baking.
The Bake: A Low and Slow Symphony of Transformation
Baking a pavlova is a low and slow process, a gentle dehydration that transforms the airy meringue into a crisp shell. This is not a quick dessert; patience is paramount. Preheat your oven to a low temperature, typically 120-130°C (250-265°F) fan-forced, or 140-150°C (285-300°F) conventional.
Once the pavlova is shaped, carefully place it in the preheated oven. The baking time will vary depending on the size and thickness of your pavlova, but generally ranges from 1 hour to 1.5 hours. You are looking for a pavlova that is dry to the touch on the outside, with a pale cream colour. It should sound hollow when lightly tapped.
Crucially, do not open the oven door during the initial stages of baking. The sudden influx of cool air can cause the pavlova to collapse. Once it has started to form a crust, you can peek, but avoid prolonged openings.
Cooling: The Gradual Descent into Perfection
The cooling process is as critical as the baking. Once the pavlova is baked, turn off the oven, but leave the pavlova inside with the oven door slightly ajar. You can prop the door open with a wooden spoon. This gradual cooling prevents dramatic temperature changes that can lead to cracking. Leave the pavlova to cool completely in the oven, which can take several hours, or even overnight. Once cooled, it should lift easily off the parchment paper.
Troubleshooting Common Pavlova Pitfalls
Despite meticulous preparation, pavlova can be a temperamental creation. Here are some common issues and their solutions:
- Weeping/Syrupiness: This is usually due to undissolved sugar or too much moisture. Ensure your sugar is fully dissolved by rubbing the meringue between your fingers. Avoid humid environments when baking.
- Cracking: Minor cracks are often unavoidable and can add to the rustic charm. However, excessive cracking can be caused by over-whipping, too high oven temperature, or rapid cooling. Ensure the oven is at the correct low temperature and allow for gradual cooling.
- Collapse: This can happen if the meringue is under-whipped, the sugar is not dissolved, or if the oven door is opened too early. Ensure stiff, glossy peaks and a fully dissolved sugar mixture.
- Gummy/Undercooked Interior: This indicates insufficient baking time or too high a temperature, which cooks the outside too quickly before the inside dehydrates. Extend baking time at a lower temperature.
- Pale Colour: The desired colour is a light cream. If it’s too white, it may be underbaked. If it’s too brown, the temperature was too high.
The Crown Jewels: Toppings and Variations
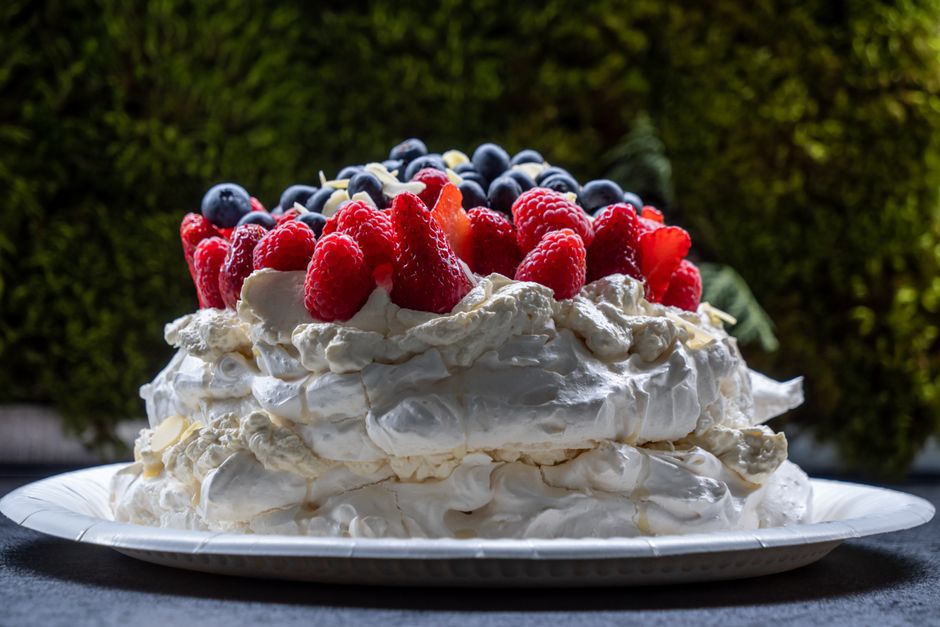
The beauty of the New Zealand pavlova lies in its versatility. Once your crisp meringue shell is cooled and ready, it’s time for the delightful adornment. Classic toppings include whipped cream and fresh seasonal fruit.
- Whipped Cream: Use chilled heavy whipping cream and whip it to soft or medium peaks. Avoid over-whipping, which can turn it into butter. A touch of icing sugar (powdered sugar) and vanilla extract can be added for sweetness and flavour.
- Fruit: A vibrant medley of fresh, ripe fruit is the quintessential topping. Think strawberries, kiwifruit, passionfruit, raspberries, blueberries, and mango. The tartness of some fruits beautifully cuts through the sweetness of the meringue and cream. Passionfruit pulp is a particularly iconic Kiwi addition, its intense tropical flavour a perfect counterpoint.
- Variations: Don’t be afraid to experiment. Consider adding chocolate shavings, toasted nuts, lemon curd, or even a drizzle of fruit coulis. For a more decadent take, try a white chocolate ganache or a swirl of raspberry jam. Some adventurous Kiwis even incorporate a touch of cocoa powder into the meringue for a chocolate pavlova.
The New Zealand Pavlova Ritual: A Celebration of Summer
In New Zealand, the pavlova is intrinsically linked to summer, barbecue gatherings, and festive occasions. It’s a dessert that brings people together, a shared indulgence that embodies the laid-back spirit of the nation. The act of making and sharing a pavlova is a culinary ritual, a moment to savour the simple pleasures of good company and delicious food.
The debate over whether pavlova originated in New Zealand or Australia rages on, but for New Zealanders, it is unequivocally a national treasure. The best ever New Zealand pavlova is not just about perfect technique; it’s about the joy it brings, the memories it creates, and the enduring legacy of this beloved dessert. By understanding the science behind the meringue, mastering the art of whipping and baking, and embracing the joy of creative topping, you too can create a New Zealand pavlova that is truly the best ever.
