
Pot Pie With Leftover Pot Roast And Vegetables 2
Transforming Leftover Pot Roast and Vegetables into a Delicious Pot Pie
This article provides a comprehensive guide to creating a delectable pot pie using leftover pot roast and its accompanying cooked vegetables. It addresses the common challenge of repurposing pot roast, offering a step-by-step process that minimizes waste and maximizes flavor. The focus is on practicality, ingredient substitution, and achieving a restaurant-quality dish from pre-cooked components. We will delve into crust options, filling preparation, binding agents, and baking techniques to ensure a satisfying and impressive meal. This method is ideal for busy individuals and families seeking creative ways to utilize Sunday dinner leftovers, reducing food waste and enjoying a comforting, hearty meal with minimal effort.
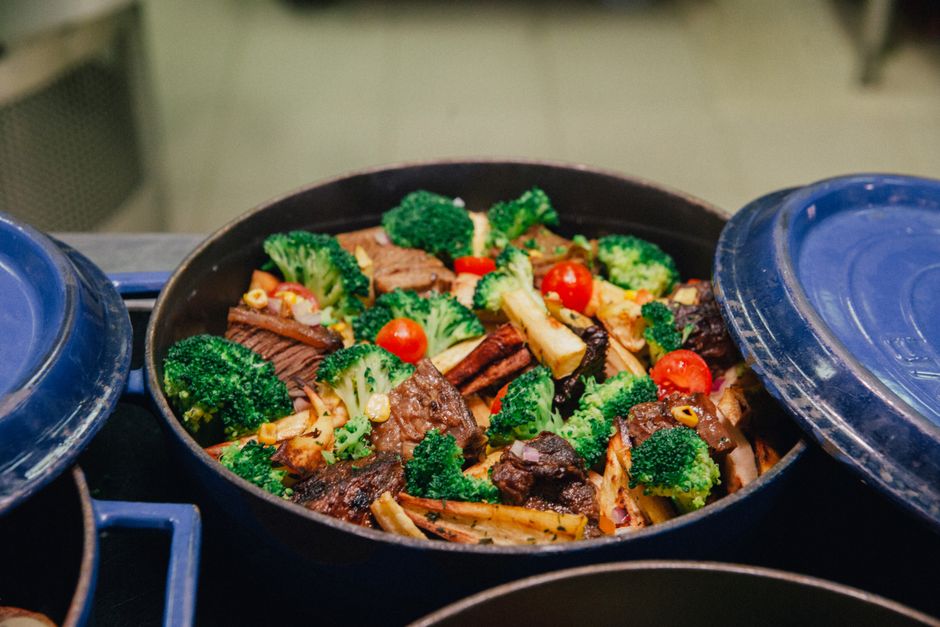
The foundation of this pot pie lies in the quality of the leftover pot roast and vegetables. Ideally, the pot roast should be tender and flavorful, having been slow-cooked in a rich braising liquid. The vegetables, whether carrots, potatoes, peas, onions, or celery, should also be cooked to a tender-crisp or soft consistency, depending on their original preparation. If the pot roast is on the drier side, this recipe will still be effective, as the binding sauce will reintroduce moisture and richness. Similarly, if the vegetables are slightly overcooked, they will meld beautifully into the pie’s filling. The key is to assess what you have and adapt the subsequent steps accordingly. If your pot roast was heavily seasoned, you may need to adjust the seasoning of your pot pie filling to avoid an overpowering taste. Conversely, a blander pot roast can benefit from more assertive seasoning in the pie’s sauce.
Preparing the pot roast and vegetables for the pie filling is a crucial first step. Begin by shredding or dicing the leftover pot roast into bite-sized pieces. The size of these pieces will influence the overall texture of the filling; smaller pieces will distribute more evenly, while larger chunks provide a more substantial bite. Remove any excessive fat or gristle that may detract from the eating experience. For the vegetables, if they are large, dice them into similarly sized pieces as the pot roast. If they are already small, like peas or corn, they can be added directly. If your vegetables include potatoes that are very soft, consider mashing them slightly to incorporate them into the sauce, creating a thicker, more cohesive filling. If you have a variety of vegetables, aim for a balanced mix.
The crust is a defining element of any pot pie, and there are several convenient options when working with leftovers. The most straightforward approach is to utilize store-bought pie crusts, either refrigerated or frozen. These are readily available and significantly reduce preparation time. For a single-crust pot pie (top crust only), one standard refrigerated pie crust will suffice. If you prefer a double-crust pot pie, you will need two crusts. Alternatively, for a more rustic approach, consider a biscuit topping. This can be made from scratch or from a can of refrigerated biscuit dough. The biscuits can be placed on top of the filling and baked until golden brown and cooked through. Another option for a single-serving pot pie or a more modern take is to use puff pastry. Thawed puff pastry sheets can be cut to size to cover individual ramekins or a larger pie dish. The flaky layers of puff pastry offer a luxurious texture.
Creating the rich and flavorful sauce that binds the pot roast and vegetables is paramount. This typically involves a roux, a thickening agent made from equal parts fat and flour, cooked together. The fat can be butter, the rendered fat from the pot roast (if available and desirable), or even a neutral oil like vegetable or canola oil. Melt the fat in a saucepan over medium heat. Once melted, whisk in the flour until a smooth paste forms. Cook this roux for a minute or two to remove the raw flour taste. Gradually whisk in a liquid, such as beef broth, chicken broth, or even the reserved liquid from the original pot roast, until a smooth sauce forms. The amount of liquid will determine the consistency of your filling. Start with about two cups and add more as needed.
Seasoning the sauce is where you can elevate the flavors of your pot pie. If you used beef broth, consider adding a splash of Worcestershire sauce for depth and umami. A pinch of dried thyme, rosemary, or a bay leaf can add aromatic complexity. Salt and freshly ground black pepper are essential, but taste and adjust carefully, especially if your pot roast was already well-seasoned. For a creamier sauce, you can incorporate a dollop of sour cream, heavy cream, or even a spoonful of cream cheese towards the end of cooking. This will add richness and a delightful tang. If you want to incorporate some of the original pot roast vegetables into the sauce itself before combining with the meat and main vegetable components, this is the stage to do so. Finely diced onions or celery, sautéed in the fat before making the roux, will build further flavor.
The method for combining the filling components and assembling the pot pie depends on your chosen crust. For a standard double-crust pot pie, prepare your pie dish by lightly greasing it. Line the dish with one of your pie crusts. In a separate bowl, combine the shredded or diced pot roast with the cooked vegetables. Pour the prepared sauce over the meat and vegetable mixture and stir gently to ensure everything is evenly coated. Spoon this filling into the prepared pie crust. If you are using a double crust, place the second pie crust over the filling. Crimp the edges to seal and cut vents in the top crust to allow steam to escape during baking. For a single-crust pot pie with a top crust, simply place the filling in a greased pie dish and cover with the single crust.
If you opt for a biscuit topping, spoon the pot roast and vegetable mixture into a greased baking dish (a 9-inch pie plate or an 8×8 inch square baking dish works well). Arrange the biscuits on top of the filling, ensuring they are close together to cover most of the surface. For a puff pastry topping, place the filling in a greased pie dish and top with the cut puff pastry, pressing down on the edges to seal. Brush the top crust or biscuits with an egg wash (one egg beaten with a tablespoon of water) for a golden, shiny finish. This is an optional step but highly recommended for visual appeal.
Baking the pot pie requires careful attention to temperature and time to ensure the crust is golden and flaky and the filling is heated through. Preheat your oven to 400°F (200°C). Place the assembled pot pie on a baking sheet to catch any potential drips. Bake for 20-25 minutes for a single-crust pie with a top crust, or until the crust is golden brown and the filling is bubbling. For a double-crust pie, bake for 35-45 minutes, or until the crust is golden brown and the filling is hot and bubbling. If the crust begins to brown too quickly, you can loosely tent the pie with aluminum foil. For a biscuit topping, bake for 25-30 minutes, or until the biscuits are golden brown and cooked through. Puff pastry will typically bake in 20-25 minutes until puffed and golden.
Allowing the pot pie to rest after baking is a critical step that many overlook. Once removed from the oven, let the pot pie sit for at least 10-15 minutes before slicing and serving. This resting period allows the filling to set and thicken further, preventing it from being too runny when served. It also prevents the molten hot filling from causing burns. While the aroma will be tempting, patience is rewarded with a more cohesive and enjoyable eating experience.
Variations and enhancements can be introduced to this leftover pot roast pot pie recipe. Consider adding a handful of frozen peas or corn to the filling for extra color and sweetness. A sprinkle of fresh parsley or chives just before serving can add a bright, fresh note. If you have any leftover gravy from the original pot roast, you can incorporate a portion of it into the filling for an even deeper flavor profile. For a vegetarian-friendly approach, this same sauce base and crust method can be used with a variety of leftover roasted or steamed vegetables. The key is to utilize what you have on hand and adapt the core principles of pot pie construction.
The nutritional benefits of transforming leftovers into pot pie are significant. By repurposing ingredients, you are reducing food waste, which has positive environmental and economic implications. Pot pie, with its combination of protein from the pot roast and carbohydrates from the crust and vegetables, offers a balanced and filling meal. The richness of the sauce contributes to satiety. While it can be a calorie-dense dish, it provides essential nutrients and comfort. Portion control is key for managing calorie intake.
Storage and reheating instructions are important for enjoying leftover pot pie. Once cooled, the pot pie can be stored in an airtight container in the refrigerator for up to 3-4 days. Reheat individual slices in a microwave-safe dish until heated through, or reheat the entire pie in a preheated oven at 350°F (175°C) until warmed through. Be mindful that the crust may become slightly softer upon reheating. For crisper crust, reheating in a toaster oven or air fryer is also an option.
In conclusion, transforming leftover pot roast and vegetables into a pot pie is a practical and delicious way to avoid food waste and create a comforting meal. By following these steps, utilizing convenient crust options, and focusing on building a flavorful sauce, you can transform humble leftovers into a satisfying and impressive dish. The adaptability of this recipe allows for personal preference and the ingredients readily available in your kitchen. Embrace the concept of "no waste cooking" and enjoy the rewarding experience of a homemade pot pie, elevated by the delicious foundation of your previous culinary endeavors. This method proves that leftovers are not just second chances, but opportunities for culinary reinvention.
