
Chef Johns No Knead Ciabatta
Chef John’s No-Knead Ciabatta: A Comprehensive Guide to Effortless Italian Bread
The allure of homemade ciabatta – its airy, open crumb, its crisp crust, its subtle tangy notes – often conjures images of laborious kneading, long proofing times, and the potential for dense, disappointing results. However, Chef John’s revolutionary no-knead ciabatta recipe elegantly dismantles these barriers, presenting a pathway to exceptional Italian bread that prioritizes simplicity and patience over brute force. This method, celebrated for its foolproof nature and remarkable outcomes, transforms the home baker into a confident artisan, capable of producing bakery-quality ciabatta with minimal active effort. The magic lies in a high hydration dough, a prolonged fermentation period, and a unique shaping technique that encourages the bread’s characteristic irregular form and porous interior. This article will delve deeply into the intricacies of Chef John’s no-knead ciabatta, exploring the science behind its success, providing step-by-step instructions, offering troubleshooting tips, and highlighting its versatile culinary applications.
The core principle underpinning Chef John’s no-knead ciabatta is autolyse, a process where flour and water are combined and allowed to rest before the addition of salt and yeast. This hydration period initiates enzymatic activity within the flour, breaking down complex starches and proteins. Crucially, it allows the gluten network to begin forming spontaneously without mechanical manipulation. The high hydration level, often exceeding 80% of the flour weight, is paramount. This wet dough is inherently sticky and slack, making it unsuitable for traditional kneading techniques. Instead of developing gluten through stretching and folding, the extended fermentation time allows these gluten strands to organize and strengthen naturally. The yeast, given ample time and a rich, hydrated environment, produces carbon dioxide gas, which is trapped by the developing gluten, creating the bread’s signature open crumb. The slow fermentation also contributes to a more complex flavor profile, developing subtle tanginess and depth that is often missing in faster bread-making methods.
To embark on your no-knead ciabatta journey, gather the following ingredients: 3 cups (approximately 375 grams) of bread flour, 1 teaspoon (approximately 5 grams) of fine sea salt, 1/2 teaspoon (approximately 2 grams) of instant dry yeast, and 2.5 cups (approximately 590 ml) of lukewarm water. The bread flour is recommended for its higher protein content, which promotes better gluten development. While all-purpose flour can be used, it may result in a slightly less chewy texture. The salt is essential not only for flavor but also for controlling yeast activity and strengthening the gluten structure. Instant dry yeast is preferred for its ease of use, as it doesn’t require activation in water. The high water content is the defining characteristic of this dough, contributing to its wetness and the eventual airy crumb.
The process begins with the autolyse. In a large mixing bowl, combine the bread flour and water. Mix with a spoon or your hands until no dry flour remains. The dough will be shaggy and wet. Cover the bowl tightly with plastic wrap or a damp kitchen towel and let it rest at room temperature for at least 30 minutes, and up to 2 hours. This resting period is critical. During this time, the flour absorbs the water, and the gluten begins to hydrate and loosely form.
Following the autolyse, add the salt and yeast to the dough. Mix them in thoroughly until fully incorporated. The dough will still be very wet and sticky. This is precisely what you want. Again, cover the bowl tightly. The dough is now ready for its first, long fermentation. This stage typically lasts between 12 and 18 hours at room temperature, or it can be done in the refrigerator for a slower, more controlled fermentation over 24-48 hours. The key is to allow sufficient time for the yeast to work its magic and for the gluten to develop strength. You will observe the dough becoming increasingly bubbly and doubling or even tripling in size.
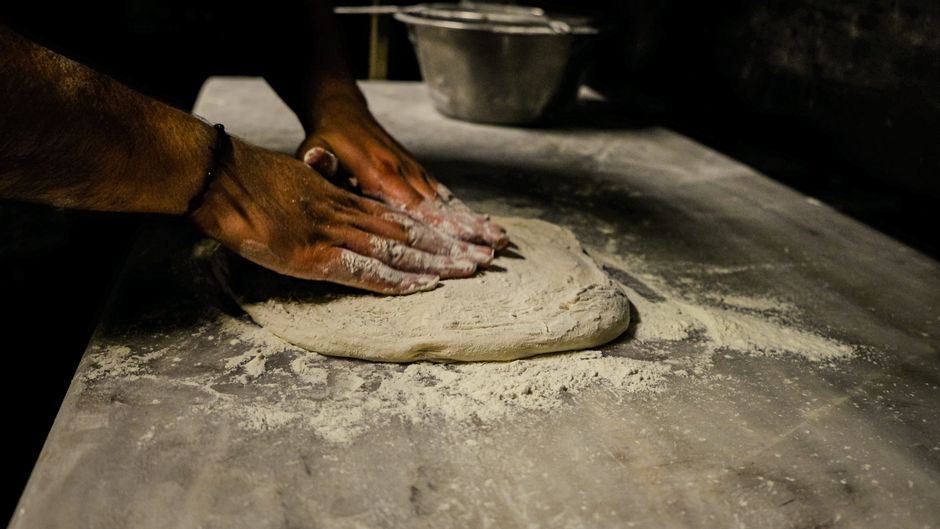
The shaping of no-knead ciabatta is a departure from traditional bread techniques and is crucial for achieving its characteristic appearance. After the long fermentation, the dough will be incredibly aerated and jiggly. Lightly flour a work surface. Gently turn the dough out onto the floured surface. Be careful not to deflate it excessively. The dough will spread out considerably. Using a bench scraper or floured hands, gently coax the dough into a rough rectangle. Avoid overworking or punching down the dough. The goal is to preserve as much of the trapped air as possible.
Once the dough is roughly rectangular, it’s time to divide it. This is where the "ciabatta" – meaning slipper in Italian – gets its name. Use a bench scraper or a sharp knife to cut the dough into desired shapes. Traditional ciabatta loaves are elongated and relatively flat. You can make one large loaf or several smaller ones. Again, handle the dough gently to maintain its airy structure.
The final proofing of the ciabatta is essential before baking. Lightly flour a piece of parchment paper or a clean kitchen towel, and carefully transfer the shaped dough pieces onto it, ensuring they have ample space between them. Cover the dough loosely with plastic wrap or another kitchen towel and let it rest for another 30-60 minutes at room temperature. This allows the dough to relax and puff up slightly, preparing it for the oven.
Preheating your oven and baking surface is critical for a crisp crust. Preheat your oven to 450°F (230°C) with a baking stone or an inverted baking sheet inside. It’s also beneficial to place a shallow pan on the bottom rack of the oven, which will be used to create steam.
When the dough has completed its final proof, carefully transfer the parchment paper with the ciabatta onto the preheated baking stone or sheet. If you are not using parchment paper, gently slide the loaves onto the hot surface using a floured peel or an inverted baking sheet. Immediately pour about 1 cup of hot water into the preheated pan on the bottom rack of the oven. This will create a burst of steam, which is crucial for a thin, crisp crust and good oven spring. Close the oven door quickly to trap the steam.
Bake the ciabatta for 20-25 minutes, or until the crust is a deep golden brown and the internal temperature reaches 200-210°F (93-99°C). You can carefully remove the steam pan after the first 10-15 minutes of baking to allow the crust to dry out and crisp further. Once baked, transfer the ciabatta to a wire rack to cool completely. Resist the urge to slice into it immediately; allowing it to cool fully helps to set the crumb and develop the final texture.
Troubleshooting common issues with no-knead ciabatta is an important part of mastering the recipe. If your ciabatta turns out dense, it’s often due to insufficient fermentation time, under-hydration, or overworking the dough during shaping. Ensure you are allowing the dough to ferment for the full recommended time and that your dough is visibly bubbly and increased in size. If the crust is too soft, it could be a lack of steam during baking or insufficient baking time. Experiment with adding more steam or extending the bake slightly. If the dough is too difficult to handle and overly sticky, a slight reduction in water might be necessary for future bakes, or ensure you are using enough flour to lightly dust your work surface. Remember, a high-hydration dough is meant to be sticky; the key is to manage it with gentle handling and sufficient flour.
The versatility of Chef John’s no-knead ciabatta is one of its greatest assets. Its open crumb makes it perfect for absorbing sauces and dressings, making it an ideal choice for sandwiches. Think of generously filled Italian subs, paninis pressed to perfection, or simple avocado toast. The slightly tangy flavor profile also lends itself beautifully to being served alongside soups and stews, acting as an absorbent vessel for rich broths. When sliced and toasted, it becomes a delightful base for bruschetta, ready to be adorned with fresh tomatoes, garlic, basil, and a drizzle of olive oil. Furthermore, the naturally irregular shapes that emerge from the no-knead method lend an authentic, rustic charm to any table setting. It’s also a fantastic bread for dipping in olive oil and balsamic vinegar, a simple yet satisfying appetizer.
The principles of Chef John’s no-knead ciabatta extend beyond this specific recipe. Understanding the importance of hydration, long fermentation, and gentle handling can be applied to other bread-making endeavors. The reduction in active labor required makes this recipe accessible to bakers of all skill levels, from novice enthusiasts to seasoned professionals looking for a simpler, more hands-off approach to achieving excellent results. The patience required is rewarded tenfold by the superior texture, flavor, and aroma of homemade ciabatta that rivals, if not surpasses, what can be found in most bakeries.
In conclusion, Chef John’s no-knead ciabatta recipe is a testament to the power of time and a high-hydration dough. It demystifies the art of ciabatta making, proving that exceptional Italian bread can be achieved with minimal active effort. By embracing the principles of autolyse, extended fermentation, and gentle shaping, home bakers can consistently produce loaves with a shatteringly crisp crust, a light and airy interior, and a delightful subtle tang. This recipe is not just about making bread; it’s about a rewarding and achievable culinary experience that brings the taste of authentic Italy to your kitchen. The search term "Chef John no knead ciabatta recipe" will lead many to this invaluable guide, showcasing the effectiveness and popularity of this transformative approach to bread baking.
